How To Start A Lifestyle Blog That Makes Money
This post contains affiliate links which means I’ll earn a small commission if you purchase through my links at no extra cost to you. Please see full disclosure here. I only recommend products I personally use and trust.
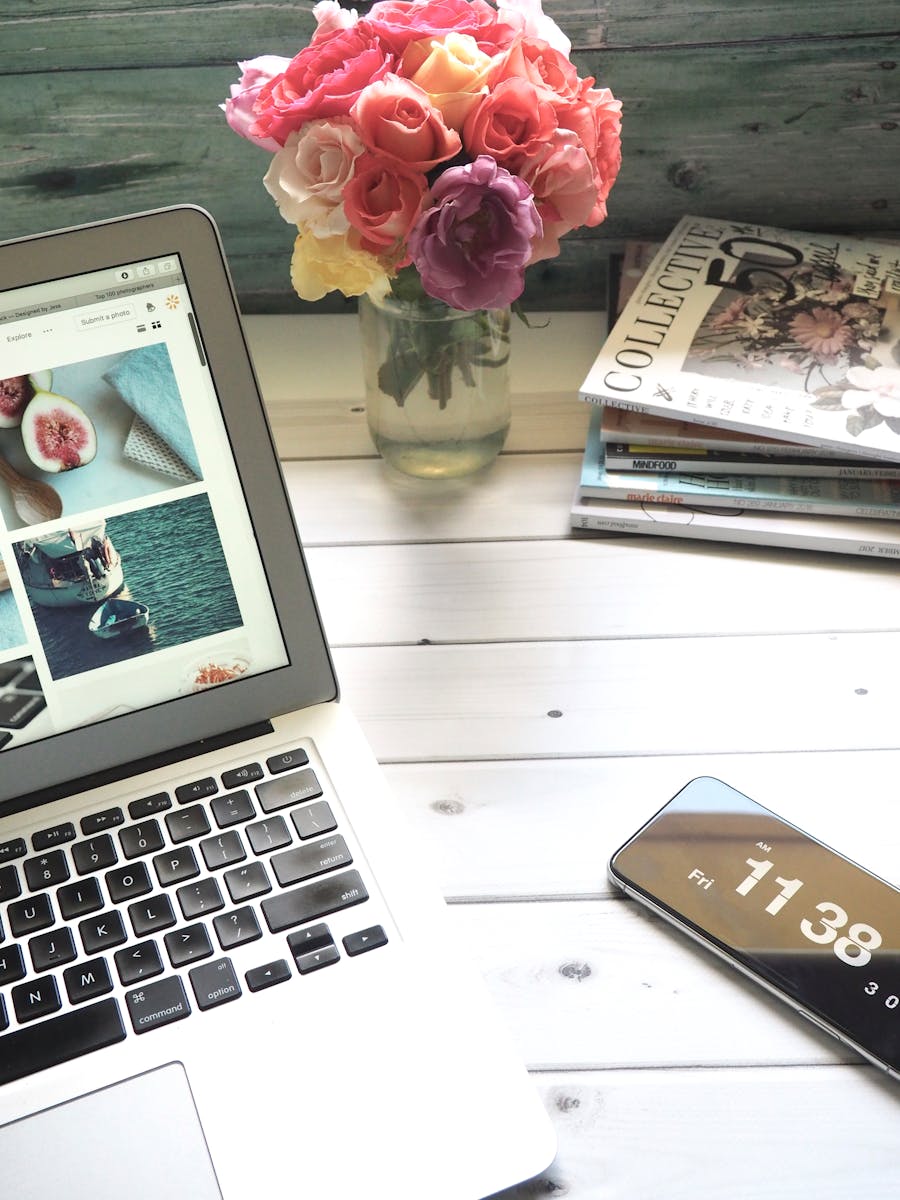
So you’re thinking about starting a blog. First off yay, that’s awesome! Whether you’re hoping to build a personal brand, share your thoughts with the world or even make some money online, starting a blog is an exciting first step.
Now if you’ve been doing a little Googling you’ve probably come across Bluehost as one of the recommended web hosting providers. And for good reason. Bluehost is beginner friendly, affordable and integrates seamlessly with WordPress aka the platform you’ll likely use to build your blog. But if all of this sounds a little techy or overwhelming don’t worry I’ve got your back.
In this guide I’m going to walk you through how to Sign Up For Bluehost and start your very own blog from scratch. No jargon. No tech wizardry. Just a clear step by step roadmap with a dash of encouragement along the way.
Step 1: Decide What You Want to Blog About
Before we dive into the technical setup let’s take a quick look. Ask yourself:
-
What do I want to write about?
-
Who am I writing for?
-
What do I want people to feel or do when they read my blog?
You don’t need to have it all figured out right now but having a general idea will help you choose a name aka your domain and design your site later on.
Popular blog topics include:
-
Travel
-
Food & Recipes
-
Personal Development
-
Fitness & Wellness
-
Parenting
-
Tech & Gadgets
-
DIY & Crafts
-
Business/Entrepreneurship
Got something in mind? Awesome. Let’s keep going.
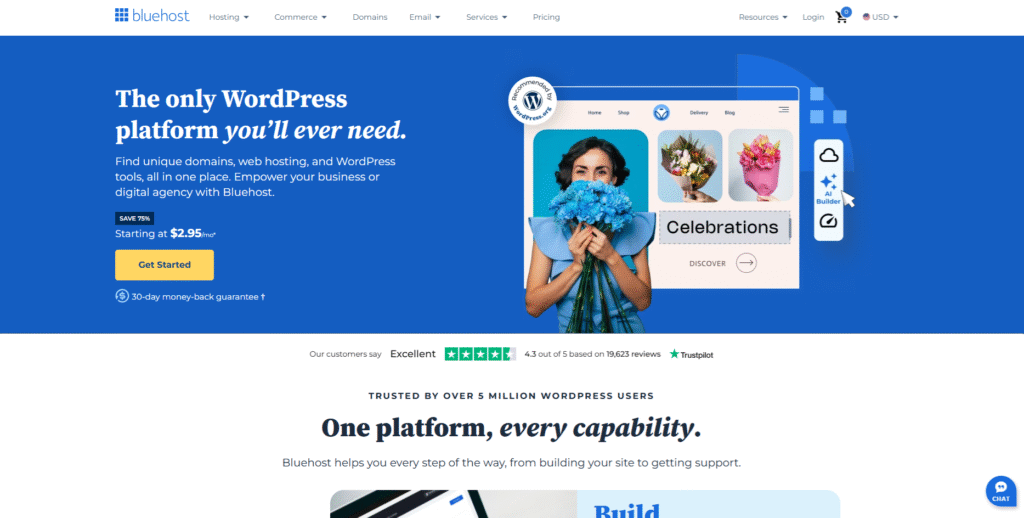
Step 2: Go to Bluehost.com
Alright now we’re getting into the fun part.
Head over to www.bluehost.com.
Once you’re there you’ll probably see a big old button that says something like “Get Started”. Click it. Pro Tip: Bluehost often runs special discounts for new users so keep an eye out for those! You might snag hosting for as low as $2.95/month.
Step 3: Choose a Hosting Plan
Bluehost will now show you a few different hosting plans. Don’t get overwhelmed here if you’re just starting out the Basic plan is perfectly fine.
Here’s a quick breakdown:
-
Basic – Great if you’re only planning to have one blog.
-
Plus – Good if you might create multiple blogs or websites down the line.
-
Choice Plus – Offers some extra security and backups.
-
Pro – Has more power and performance but not really needed for newbies.
Click Select on the plan that suits your needs. (Again, Basic is A-OK to start.)

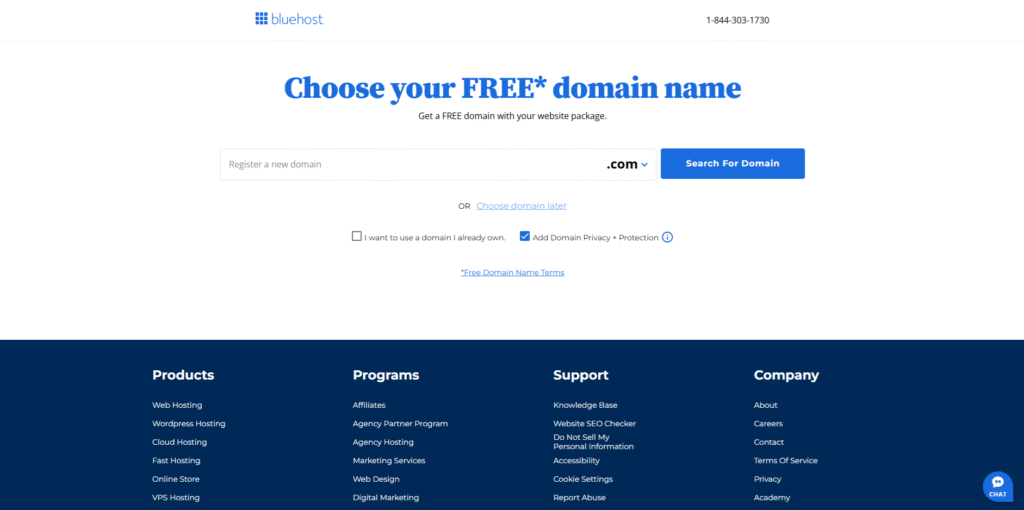
Step 4: Pick a Domain Name aka Your Blog’s Address
Now comes the fun and sometimes frustrating part: choosing your domain name.
Your domain is your blog’s URL (like www.xotiffany.com). It’s what people will type in to find your site.
Bluehost will give you a few options here:
-
Create a new domain – Choose this if you don’t already own one.
-
Use a domain you own – Choose this if you already bought a domain elsewhere.
-
Decide later – If you’re unsure this gives you time to think.
Try typing in a name that fits your blog’s vibe. It could be your actual name like xotiffany.com or something catchy like thehappymommy.com. Heads up: If your name isn’t available Bluehost will suggest alternatives. You might need to get a little creative, add a word or try a different domain extension like .net or .co.
Once you’ve found a domain that’s available, click Next to move on.
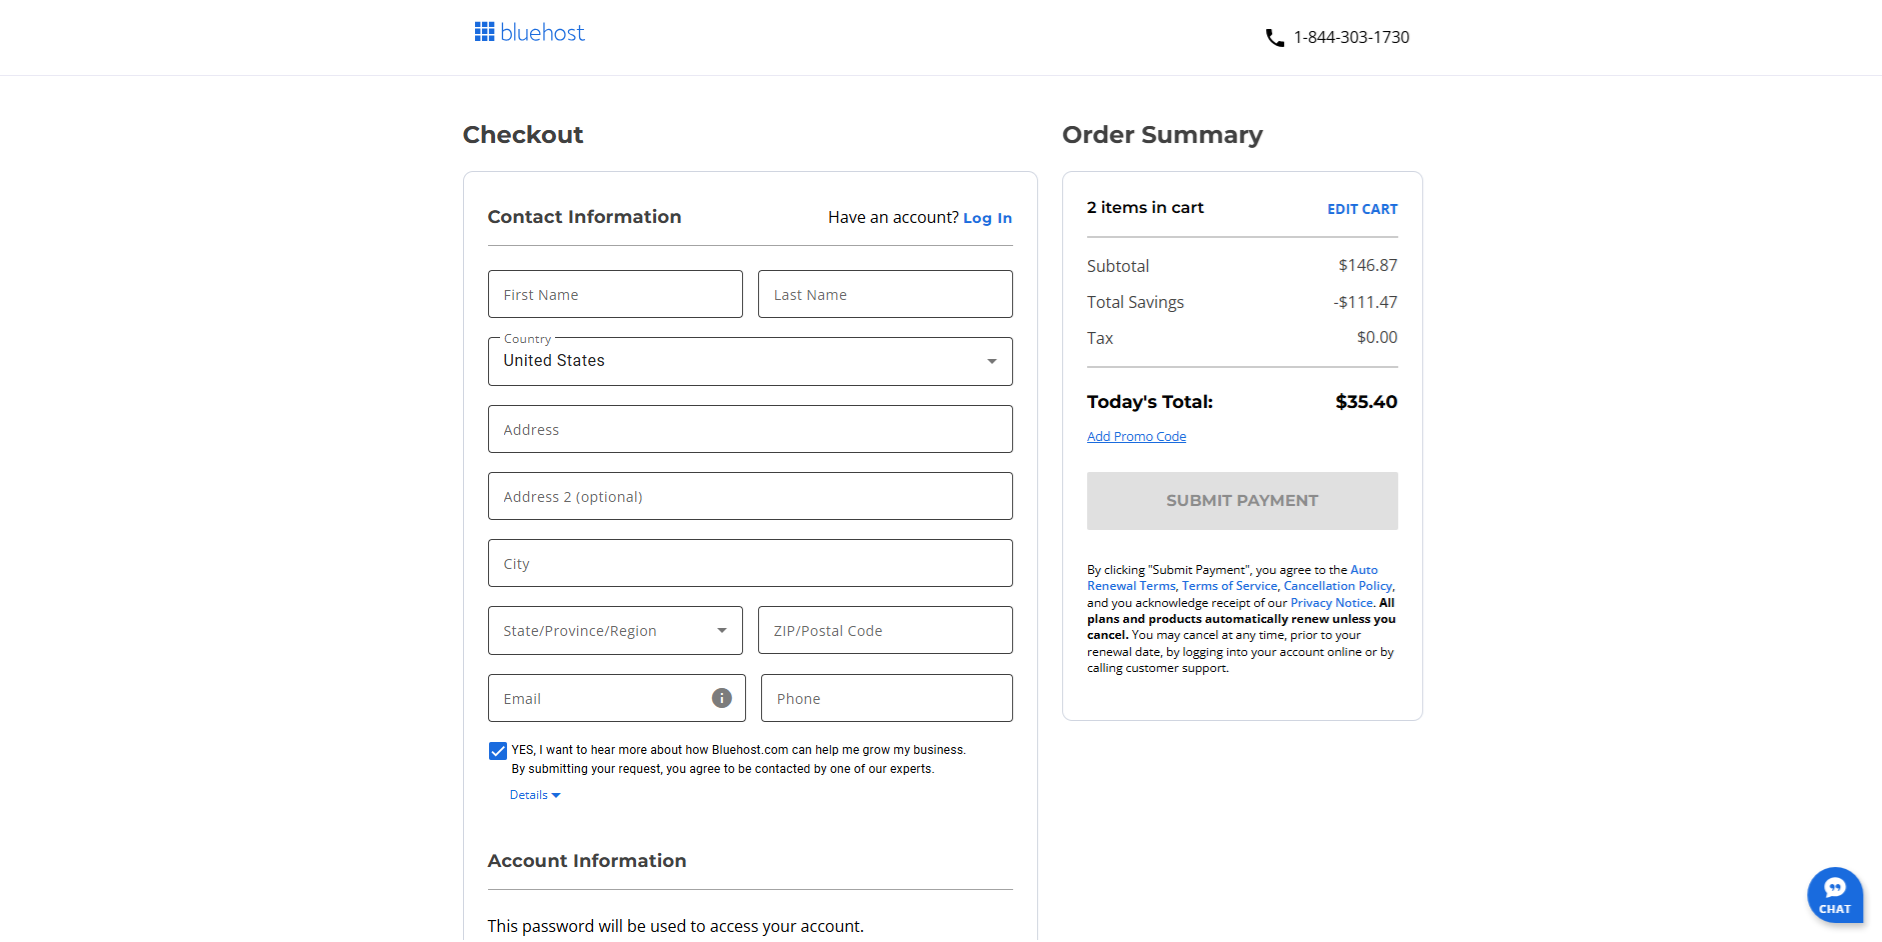
Step 5: Create Your Bluehost Account
You’re almost there!
Now it’s time to fill out your account information. Name, email, address and just your standard stuff.
Then you’ll choose your package information. Here’s what to pay attention to:
-
Account Plan – You’ll usually get the best deal by signing up for 36 months but you can choose 12 months if you want less commitment.
-
Package Extras – Some of these are optional. Let’s break them down:
-
Domain Privacy Protection (recommended): Keeps your personal info like name and address private in the public WHOIS database.
-
Site Lock Security: Adds extra protection but not necessary for beginners.
-
Code guard: Daily backups are nice to have but not essential right away.
-
Bluehost SEO Tools: You don’t need this starting out but you can add SEO tools later for free or cheap.
-
Choose what you want then scroll down to enter your payment details.
Click Submit and BOOM you officially have hosting.
Step 6: Set Up WordPress
Bluehost makes setting up WordPress pretty much automatic now.
Once your payment goes through Bluehost will guide you through a few screens to set up your blog:
-
Pick a theme – These are design templates for your blog. You can choose one now or skip it and pick one later.
-
Install WordPress – Bluehost usually does this for you automatically. If not you’ll see a button that says “Install WordPress.” Click it.
-
Access Your WordPress Dashboard – Bluehost will give you a login link usually something like yourblog.com/wp-admin.
Now you’re inside your blog!
Step 7: Log In and Get Comfortable With WordPress
When you log in you’ll land on the WordPress Dashboard. This is your blog’s “control center.”
Here’s what you’ll see:
-
Posts – Where you write blog posts.
-
Pages – For static stuff like your About or Contact page.
-
Appearance – Where you change your theme and customize your design.
-
Plugins – Add features like social sharing, SEO tools, email signups, etc.
-
Settings – Basic site settings.
Spend a few minutes clicking around to get a feel for things. Don’t worry you can’t break anything.
Step 8: Choose and Customize Your Theme
Your theme determines how your blog looks.
To choose a new one:
-
Go to Appearance > Themes
-
Click Add New
-
Browse free themes or search for something specific (e.g., minimalist, travel, foodie)
Some popular free themes for beginners:
-
Astra
-
Ocean WP
-
Neve
-
Hestia
Once you find one you like click Install, then Activate.
After activating you can go to Appearance > Customize to tweak colors, fonts, layout and more. Don’t stress about making it perfect right now. Your blog will evolve as you go.
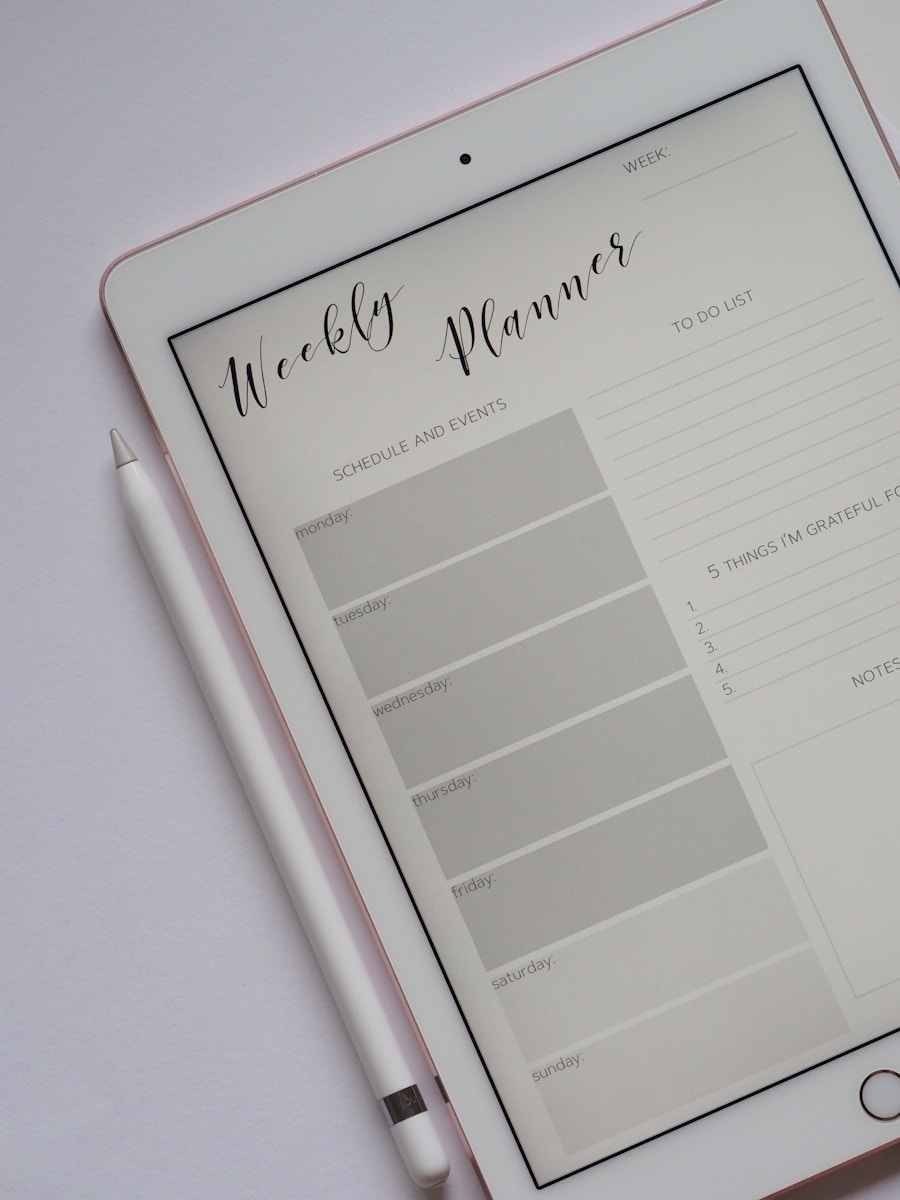
Step 9: Write Your First Blog Post
Now the fun really begins!
To write your first post:
-
Go to Posts > Add New
-
Give your post a title like “Why I Started This Blog”
-
Start writing in the editor—it’s kind of like using Microsoft Word or Google Docs.
-
Add images by clicking the “+” button and choosing “Image.”
-
Once you’re happy click Publish in the (top right corner).
And just like that you’re officially a blogger.
Step 10: Add a Few Essential Pages
Besides blog posts you’ll want to create a few pages to give your blog a complete feel.
Here are three to start with:
-
About – Tell visitors who you are and why you started the blog.
-
Contact – Let people know how to reach you. You can install a contact form plugin like WP Forms (there’s a free version).
-
Privacy Policy – Especially important if you collect emails or use affiliate links. WordPress often creates a starter one for you under Settings > Privacy.
To create a page, go to Pages > Add New, just like with posts.
Step 11: Install a Few Handy Plugins
Plugins are like little apps that give your blog extra superpowers.
Here are a few to get you started:
-
Rank Math – Helps your blog show up in Google search.
-
Jetpack – Offers security, backups and stats.
-
WP Forms – Lets you add contact forms.
-
Smush – Compresses images so your site loads faster.
-
Monster Insights – Easy way to see your blog traffic.
To install a plugin:
-
Go to Plugins > Add New
-
Search for the plugin name
-
Click Install Now, then Activate
Easy peasy.
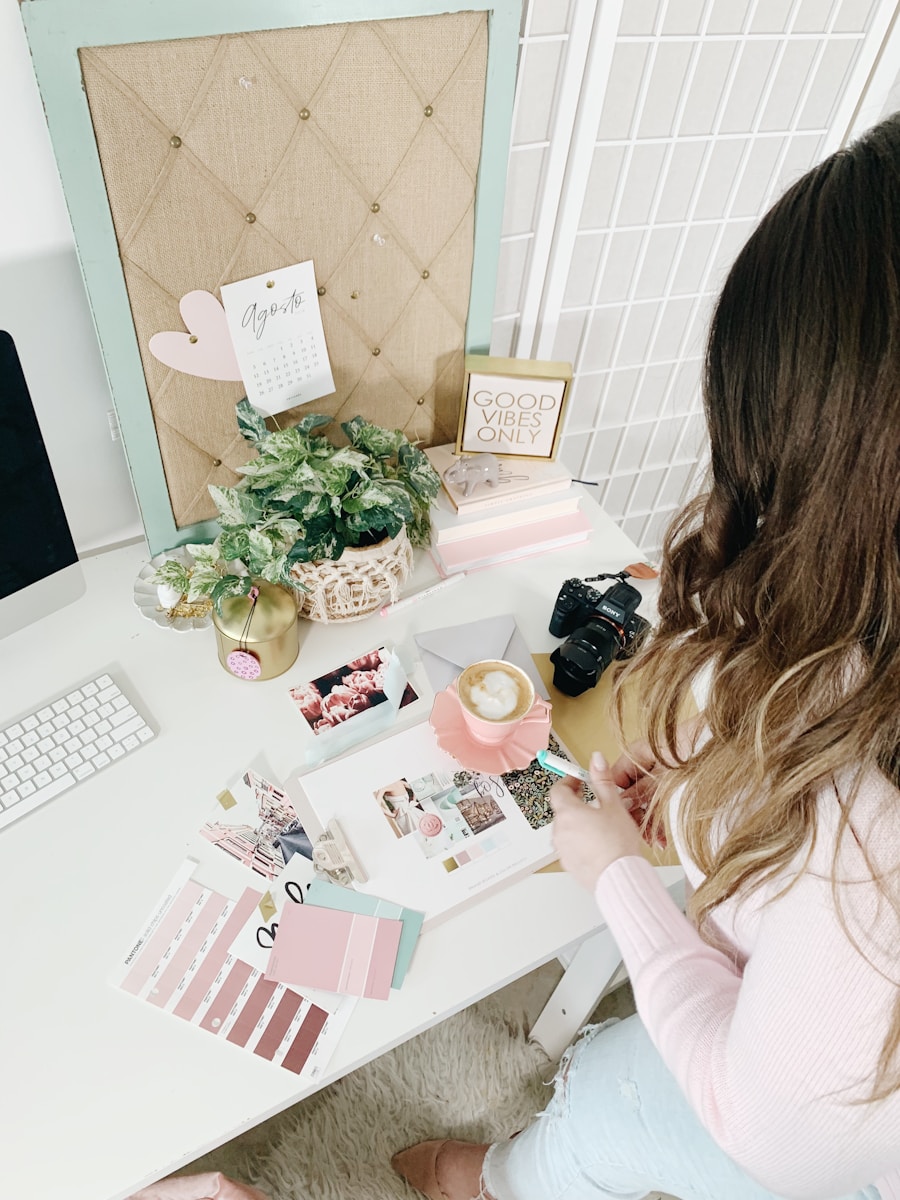
Step 12: Keep Blogging and Have Fun With It
Blogging is a journey. You’ll learn as you go.
Some tips to help you along the way:
-
Be consistent – You don’t have to post every day but try to stick to a regular schedule like once a week.
-
Write like you talk – Don’t overthink it. Be yourself. That’s what people connect with.
-
Share your posts – Post them on social media, email them to friends, pin them on Pinterest.
-
Don’t compare – Every blogger starts at zero. Stay in your lane and focus on your growth.
Conclusion
Starting a blog with Bluehost is honestly one of the best moves you can make if you want to dip your toes into the world of online content, build a brand or even create a stream of income.
You’ve now gone from idea to live blog in just a few simple steps:
-
Picked your hosting and domain
-
Set up WordPress
-
Chose a theme
-
Wrote your first post
And the best part? You’re just getting started. So go ahead write your heart out, share your voice and most importantly have fun with it. Blogging is such a rewarding experience and there’s room for your story on this big old internet.