Heart shaped cookies
This post contains affiliate links which means I’ll earn a small commission if you purchase through my links at no extra cost to you. Please see full disclosure here. I only recommend products I personally use and trust.
There’s something incredibly charming about heart shaped cookies. Whether you’re baking them for Valentine’s Day, a bridal shower, a birthday or just because you’re in a sweet and sentimental mood these little treats carry more than just flavor they’re filled with love. And the best part? Making them is actually pretty easy and a lot of fun.
In this guide I’m going to walk you through every step of making heart shaped cookies from choosing your ingredients to icing them with flair. We’ll talk about the best sugar cookie dough, how to roll it out without losing your mind, how to keep your hearts from turning into blobs in the oven and all the fun ways you can decorate them. So grab your apron, preheat that oven and let’s bake some love.
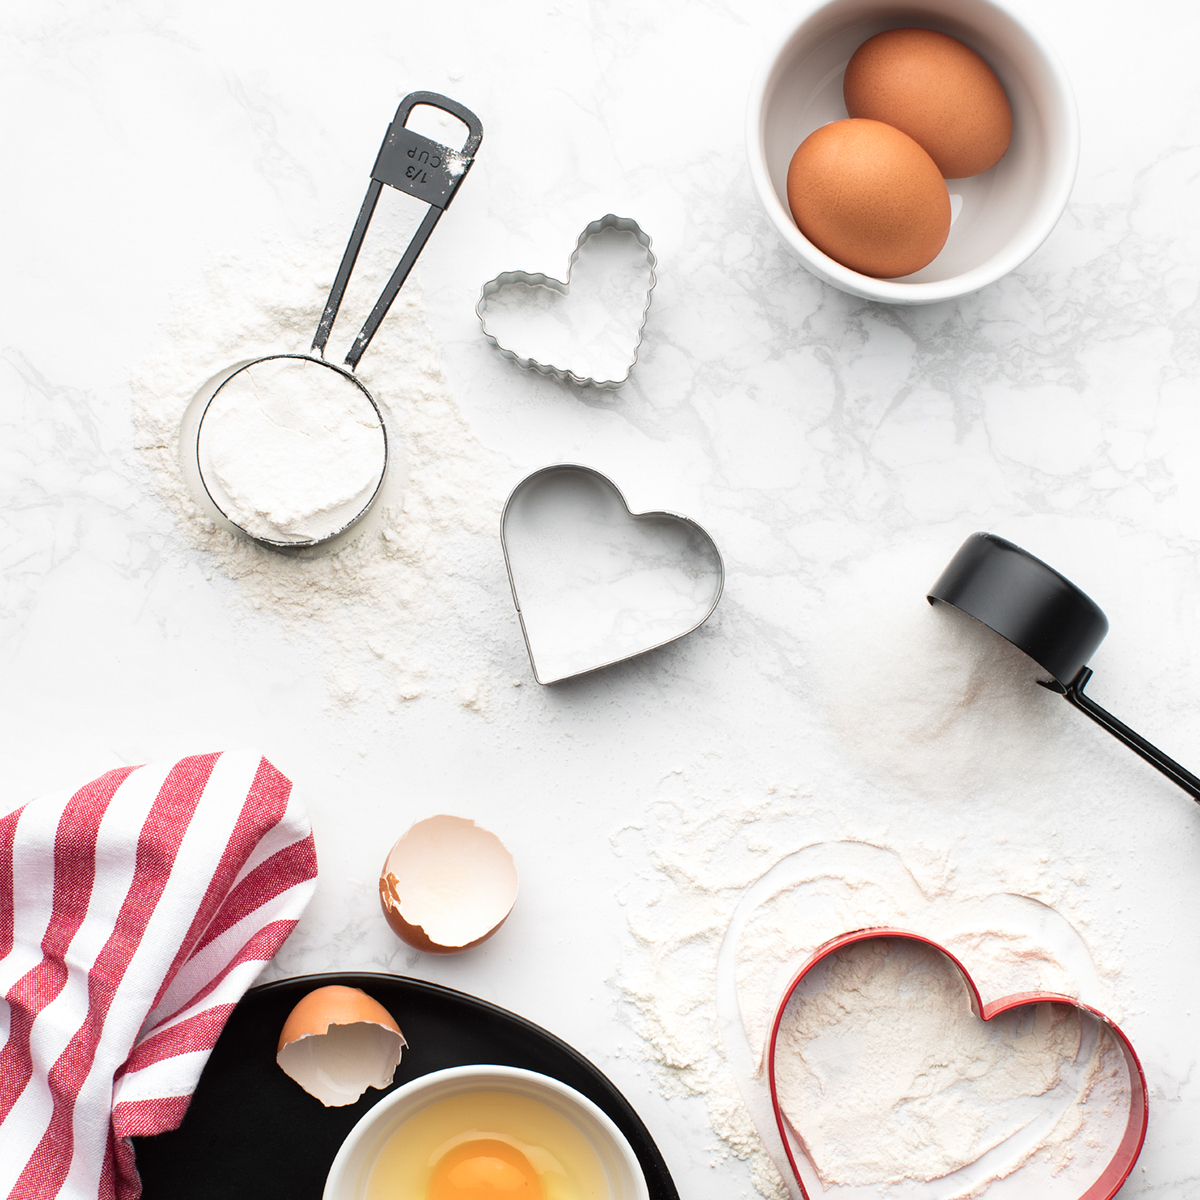
1. First Things First: Gather Your Ingredients
Let’s start with the basics. For a simple buttery sugar cookie that holds its shape and tastes amazing you’ll need the following:
For the Cookies:
-
1 cup (2 sticks) unsalted butter softened
-
1 cup granulated sugar
-
1 large egg
-
1 ½ teaspoons pure vanilla extract
-
½ teaspoon almond extract (optional but it adds a nice depth)
-
2 ¾ cups all-purpose flour
-
1 teaspoon baking powder
-
½ teaspoon salt
For Decorating (Optional But Fun):
-
Royal icing or a simple glaze (more on that later)
-
Food coloring
-
Sprinkles, edible glitter or sanding sugar
-
Piping bags or Ziploc bags with the corner snipped
Tip: Make sure your butter is at room temperature before you begin. Cold butter won’t mix well and melted butter will make the dough too soft.
2. Mixing It All Up: Making the Dough
Okay let’s get into the dough. This part is super satisfying.
Step-by-step:
-
Cream the butter and sugar.
In a large bowl use an electric mixer to beat the butter and sugar together until the mixture is light and fluffy. This usually takes about 2-3 minutes. The goal is to get air into the dough for a nice texture. -
Add the egg and extracts.
Crack in the egg and add the vanilla extract. If you’re using almond extract too and I recommend it! Toss that in. Mix until everything’s well combined. -
Combine the dry ingredients.
In a separate bowl, whisk together the flour, baking powder and salt. Slowly add this to your wet mixture, a bit at a time, mixing just until everything is incorporated. Don’t overmix—just until the dough holds together. -
Chill the dough.
This is crucial. Divide the dough into two parts, flatten them into discs, wrap them in plastic wrap and chill in the fridge for at least an hour. This helps the cookies keep their shape when you cut and bake them.
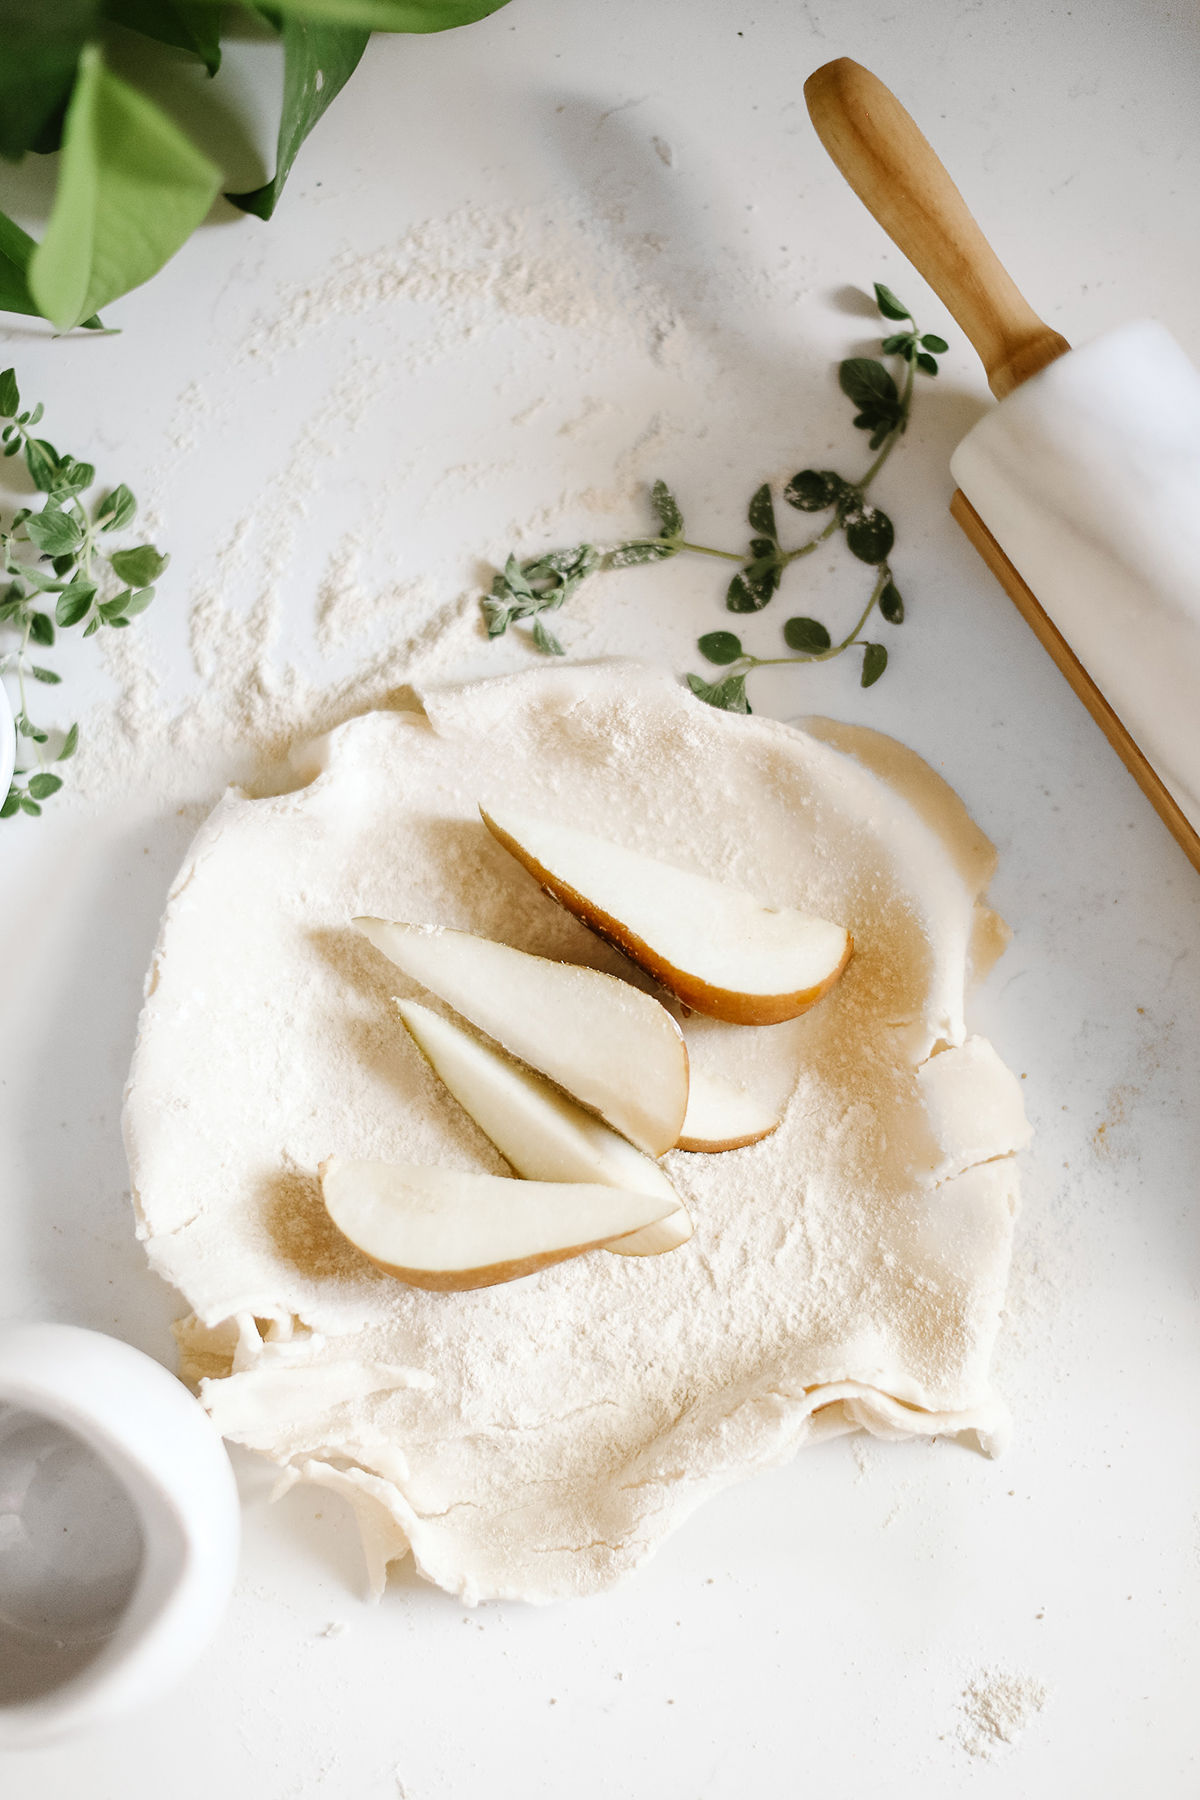
3. Rolling and Cutting: Heart Time!
After your dough has chilled it’s time to get rolling literally.
Here’s how to do it:
-
Flour your surface.
Lightly dust your counter or a big cutting board with flour to keep the dough from sticking. A little goes a long way. -
Roll the dough.
Using a rolling pin, roll the dough out to about ¼ inch thick. You want it thick enough to hold its shape but not so thick that it takes forever to bake. -
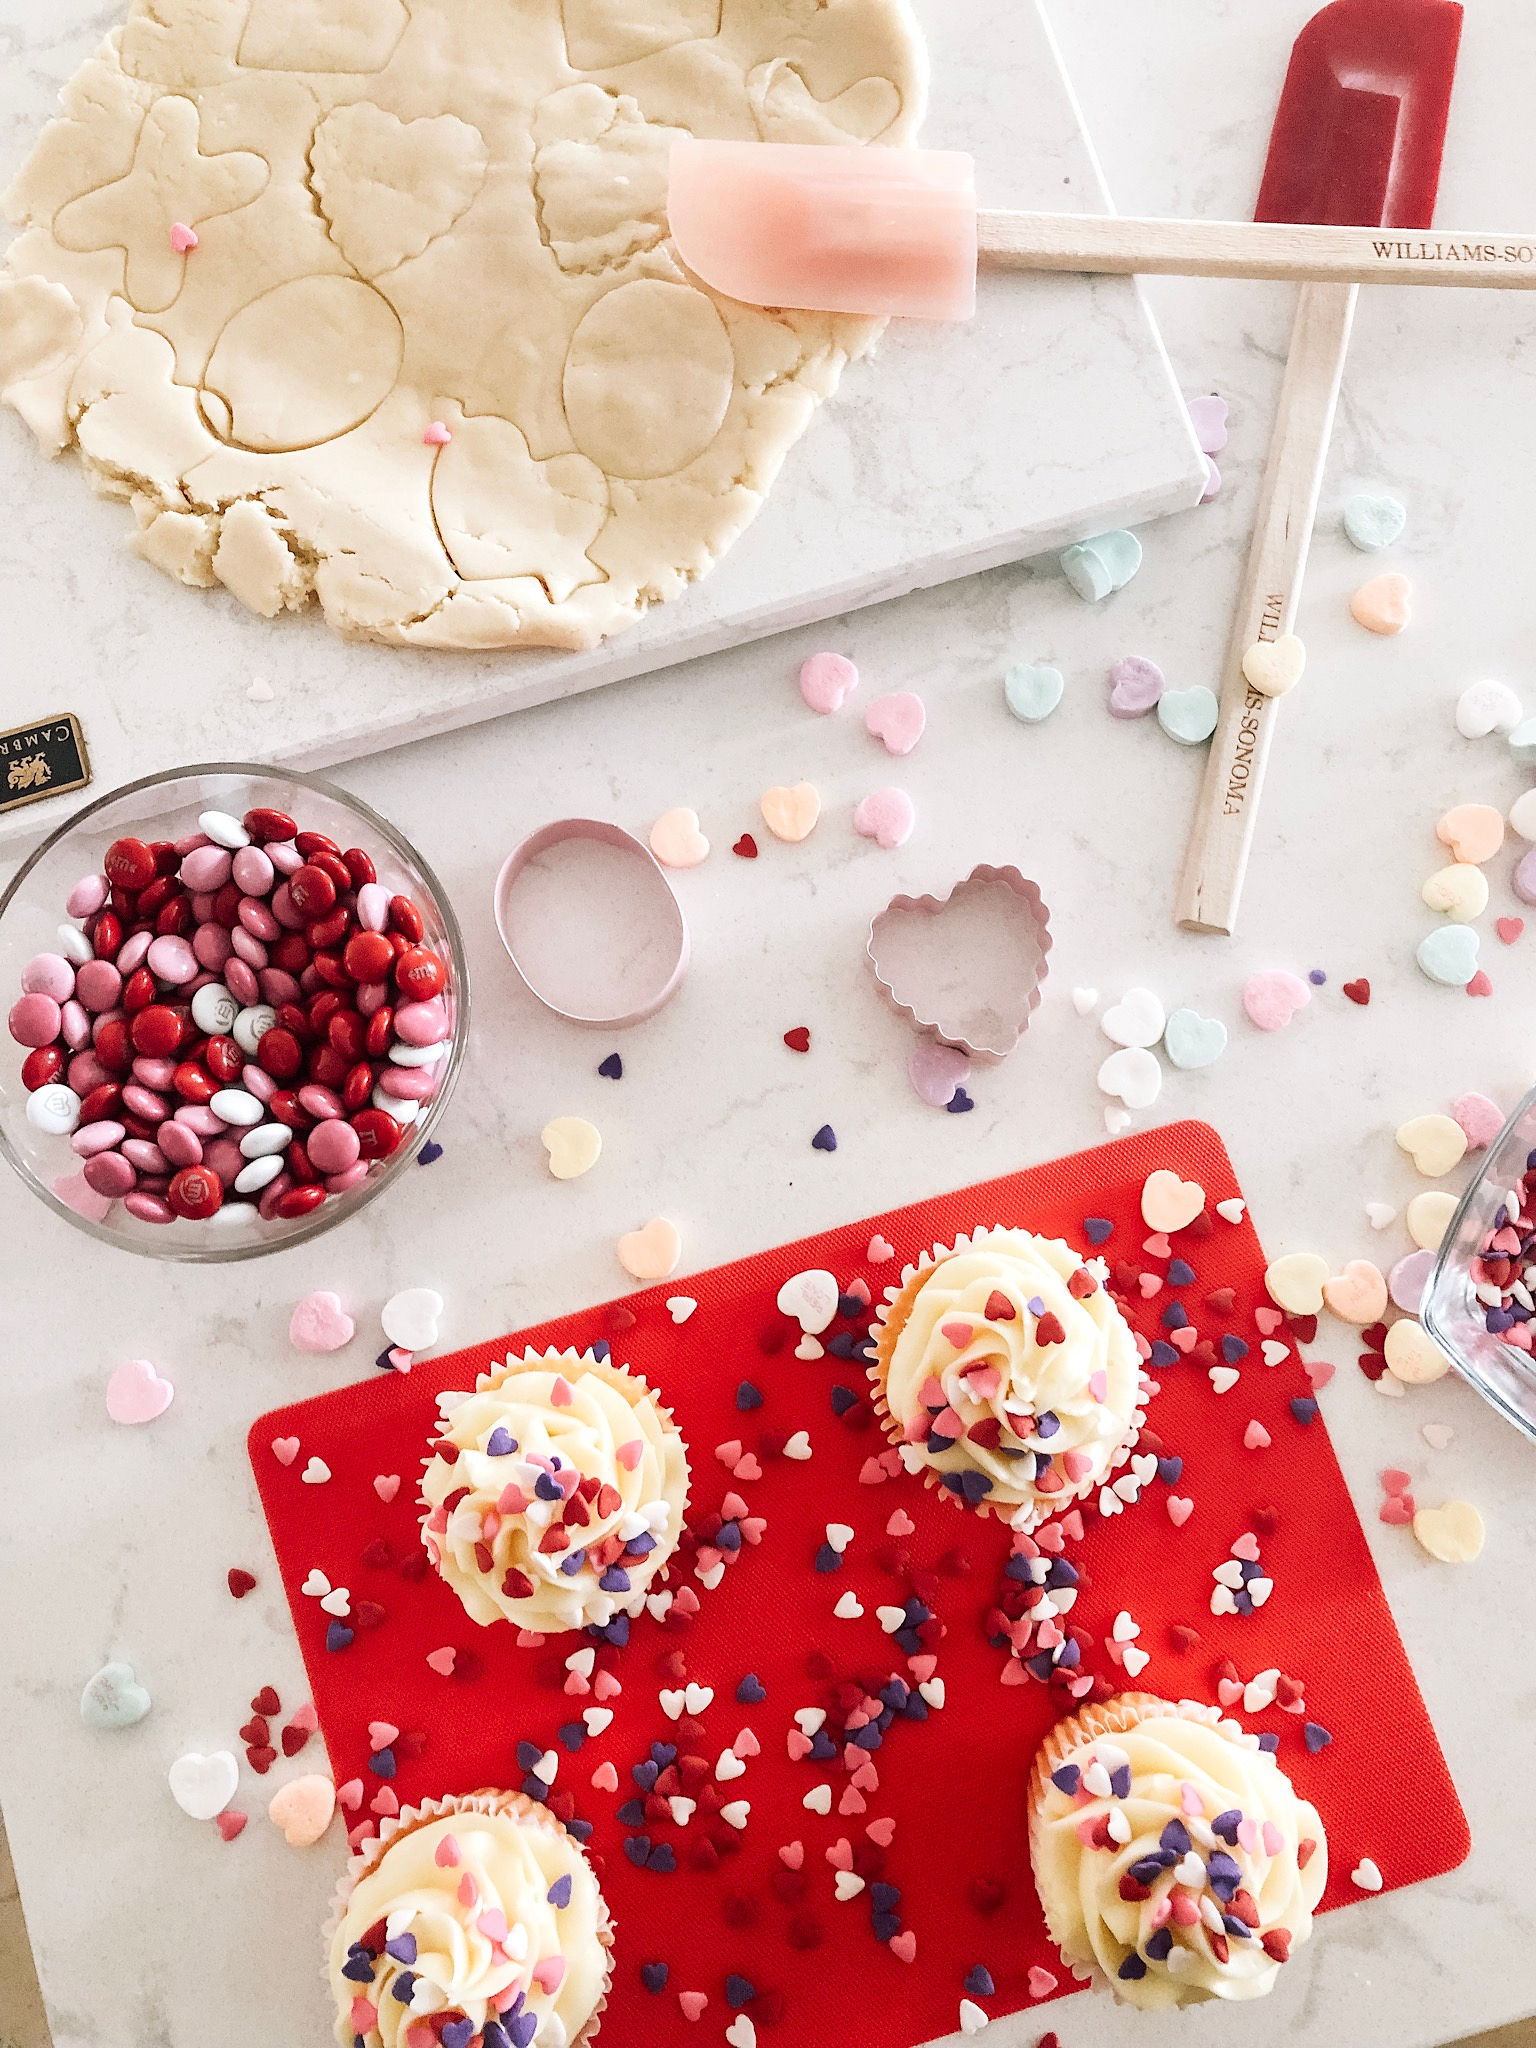
Cut out your hearts.
Grab your heart-shaped cookie cutter (they come in all sizes, but medium is a nice happy place) and start cutting! Transfer the hearts to a baking sheet lined with parchment paper or a silicone baking mat. -
Re-roll scraps.
Don’t waste the leftover dough! You can gently gather the scraps, roll them out again and cut more hearts.
4. Baking Your Cookies
Alright you’ve got a tray of cute little hearts ready to go. Let’s bake them!
Follow these steps:
-
Preheat the oven to 350°F (175°C).

-
Chill the cut cookies (optional but helpful).
If your dough has warmed up a bit from rolling, pop the tray of cut cookies into the freezer for about 10 minutes before baking. This helps them hold their shape better. -
Bake.
Bake the cookies for 8–10 minutes or until the edges are just barely starting to turn golden. Keep an eye on them because sugar cookies can go from perfect to overdone really quickly. -
Cool.
Let the cookies cool on the tray for a couple of minutes then transfer them to a wire rack to cool completely. Decorating warm cookies is a big no-no because they’ll melt the icing and make a mess.
5. Decorating Your Heart Shaped Cookies
Here’s where you can let your creativity shine. There are a few ways to decorate cookies and you don’t have to be a professional to make them look gorgeous or at least charmingly homemade!.
Option 1: Simple Sugar Glaze
This is easy and gives a pretty shiny finish.
You’ll need:
-
1 cup powdered sugar
-
2–3 tablespoons milk or water
-
A drop or two of vanilla or almond extract
-
Food coloring (if desired)
Instructions:
-
Mix the powdered sugar and liquid until smooth. You want it thick enough to coat the back of a spoon but thin enough to spread.
-
Divide into bowls and tint with food coloring.
-
Use a spoon or piping bag to spread or drizzle the glaze over the cookies.
Option 2: Royal Icing (For More Precise Decorating)
Royal icing dries hard and is perfect if you want to pipe designs, write names or layer colors.
Basic Royal Icing:
-
3 tablespoons meringue powder
-
4 cups powdered sugar
-
5–6 tablespoons water (adjust as needed)
Mix it all together until it holds stiff peaks. Add water a tiny bit at a time for outlining, and a bit more for flooding (filling in large areas).
Use piping bags with small tips for detailed designs or outline and fill. Let one layer dry before adding another for crisp lines.
Decoration Ideas:
-
Classic red and pink with white piping
-
Pastel hearts with “Be Mine” or “Love You” written on top
-
Marbled icing using a toothpick to swirl two colors
-
Tiny sprinkles or gold dust for a magical touch
Pro tip: If kids are helping set up a decorating station with bowls of icing, sprinkles, and spoons because it keeps the mess contained mostly and makes it a fun activity.
6. Storing Your Cookies (If They Last That Long)
If you don’t eat them all right away then kudos to your self control. Here’s how to keep them fresh:
-
Store the cookies in an airtight container at room temperature for up to a week.
-
If decorated with royal icing let them dry completely before stacking and use parchment between layers.
-
You can also freeze the cookies, either decorated or plain. Just wrap them well and thaw at room temperature.
7. Troubleshooting Common Issues
Even the best bakers run into cookie chaos from time to time. Here are a few common hiccups and how to fix them:
My cookies spread too much!
This usually means the dough wasn’t chilled long enough. Make sure to refrigerate it before rolling and even chill the cut cookies again before baking.
The dough is too crumbly.
If the dough is dry and falling apart it might need just a splash of milk or water to bring it together. Add a teaspoon at a time until it’s cohesive.
The cookies are too hard.
Oops—baked a bit too long! Next time pull them out when the edges are just set. You can also place a slice of bread in the container to soften them a bit.
I’m terrible at decorating.
First of all you’re probably being too hard on yourself. Second simple is often best! A smooth glaze with a few sprinkles or a swirl of color can look just as lovely as intricate piping.
8. Bonus Ideas for Extra Fun
Want to take your heart-shaped cookies to the next level? Here are some extra ideas to make them extra special:
-
Make sandwich cookies.
Spread a layer of raspberry jam, Nutella or buttercream between two heart cookies. Cute and delicious. -
Use chocolate.
Dip half of each heart in melted chocolate and let it harden. White, dark or milk chocolate all work beautifully. -
Gift them.
Wrap a few cookies in clear cellophane bags, tie with a ribbon and you’ve got a perfect homemade gift. -
Add flavors.
Try citrus zest like lemon or orange in the dough for a fresh twist. Or a pinch of cinnamon for warmth. -
Write messages.
Channel your inner candy heart and write words like “XOXO,” “LOVE,” or inside jokes with a piping bag.
Heart Shaped Sugar Cookies

Equipment
- Mixing bowls
- Electric mixer or stand mixer
- Measuring cups and spoons
- Rolling Pin
- Heart-shaped cookie cutter
- Baking sheet(s)
- Parchment paper
- Wire rack
- Optional: piping bags, food coloring, sprinkles
Ingredients
- For the Cookies:
- 2 3/4 cups all-purpose flour
- 1 teaspoon baking powder
- 1/2 teaspoon salt
- 1 cup unsalted butter softened
- 1 cup granulated sugar
- 1 large egg
- 1 1/2 teaspoons vanilla extract
- 1/2 teaspoon almond extract optional
- For the Icing optional:
- 2 cups powdered sugar
- 1 –2 tablespoons milk
- 1 tablespoon light corn syrup
- 1/2 teaspoon vanilla extract
- Food coloring optional
- Sprinkles optional
Instructions
- Make the Cookies:
- Preheat oven to 350°F (175°C). Line baking sheets with parchment paper.
- Whisk together flour, baking powder, and salt in a medium bowl. Set aside.
- In a large mixing bowl, cream butter and sugar together until light and fluffy (about 2–3 minutes).
- Beat in the egg, vanilla extract, and almond extract (if using) until well combined.
- Gradually add dry ingredients to the wet mixture, mixing until the dough comes together.
- Divide the dough in half, flatten into discs, wrap in plastic wrap, and chill for 1 hour.
- On a floured surface, roll out dough to 1/4 inch thickness. Cut out cookies using a heart-shaped cookie cutter.
- Place cookies on the prepared baking sheet, spacing 1 inch apart.
- Bake for 8–10 minutes, or until the edges are just barely golden.
- Let cookies cool on the pan for 5 minutes, then transfer to a wire rack to cool completely.
- Make the Icing (Optional):
- In a bowl, whisk together powdered sugar, milk, corn syrup, and vanilla until smooth. Add more milk (a few drops at a time) for desired consistency.
- Divide into bowls and add food coloring if desired.
- Decorate cooled cookies using piping bags or a spoon. Add sprinkles before icing sets.
Conclusion
Making heart-shaped cookies isn’t just about the end result it’s about the process. It’s about the buttery smell wafting through the kitchen, the feel of soft dough under your rolling pin, the satisfying moment of pulling a tray of perfect little hearts from the oven. Whether you’re baking alone, with kids or for someone special these cookies are little acts of love you can hold in your hand.
So take your time, get a little messy and don’t worry if a few cookies end up more “abstract art” than perfect hearts. At the end of the day it’s the love and sugar that counts.